In most of the Android phones internal memory remains low which is between 200-400MB. And in most of the cases generally the apps get installed in the internal memory so it take spaces and finally when internal memory becomes full your phone get slow or hanged. Though there is chance to install the apps in SD card but in most of the cases they get installed in the internal memory in default. So to get release from this problem the best solution is to use link2SD which let you install the apps in a separate partition of your SD card.
Let me show the way to expand internal memory with link2SD.
Requirements:
1. Your phone must be rooted. Rooting of your phone varies on your phone model.
2. There should have two partitions and you should backup files from the SD card.
3. Remove your micro SD card from the phone and using a SD card adapter, connect it to you computer, either directly our using an SD card reader (normaly USB)
Step 1: Create partition on SD card:
There are two ways to create partition. I recommend you to use Mini Partition Wizard Home Edition, it’s free. Linux fans use GParted.
I’m going to use Mini Partition Wizard Home Edition, but if you ruin your SD card and windows / Mini Partition, does not recognize it, use the GParted Live CD (miracle worker), if you don’t have linux installed.
Using the Mini Partition Wizard create the following partitions:
-
Primary Fat32 Partition – Your normal SD card partition (with most of the sd cards space)
-
Primary Ext2 Partition – The partition that will hold the Apps that you move from the phone’s internal memory. Mine was 1.5 GB, but it all depends on you needs and you sd card size.
-
Primary Linux Swap – Used by linux for ram extension (something like windows pagefile), it should be at least as big as you phone’s RAM, mine is 512 MB.
Note: I used primary partitions but it’s possible that extended partitions migth work (didn’t test).
Now that we have completed creating partition now its time to configure link2SD.
Step 2 - Configuring link2SD:
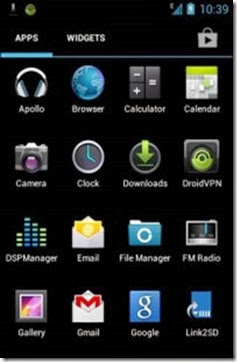
· At first download link2SD
· Now install the app and launch it.
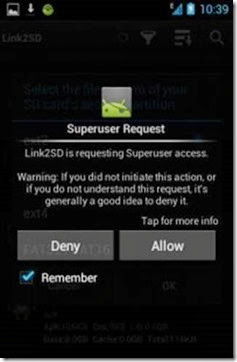
· When you launch the app it will ask to get superuser access.
· Allow the request
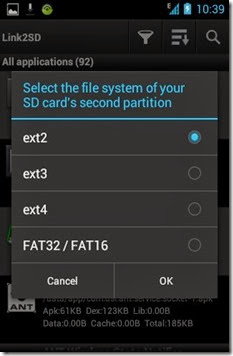
· Now it will as you to select the file system of your SD card’s second partition, select ext2 and tap OK.
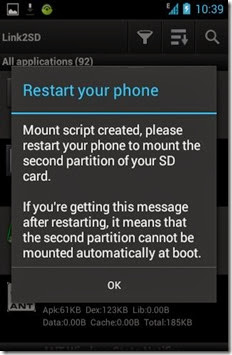
· Now it will ask you to restart the phone, just tap OK to restart.
· After restarting your phone launch the link2SD app again.
· It will show you a dialogue, tap OK
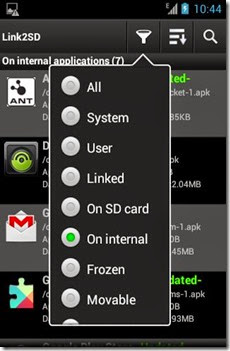
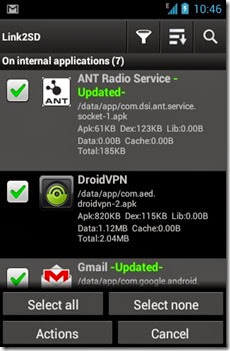
· Now tap on the icon which you see in the screenshot and choose multi-select to select all.
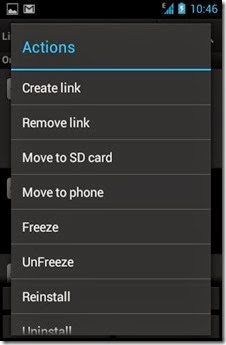
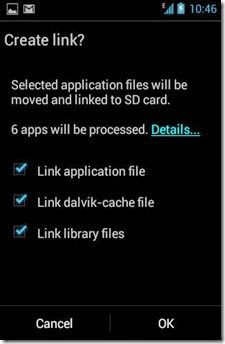
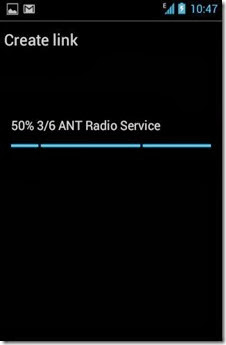
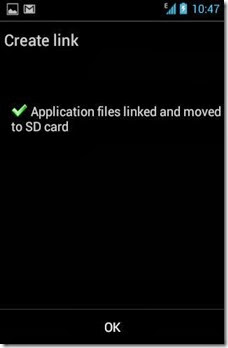
· In this step go to Actions menu and select Create link then tick all the 3 options and tap OK
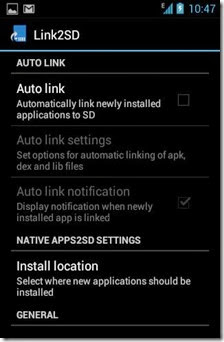
· Now configure the settings to create auto link in future.
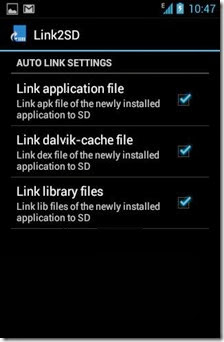
· To do this go to Menu>Setting and Auto link and tick all the 3 options.
· Now exit the apps and forget about internal memory.
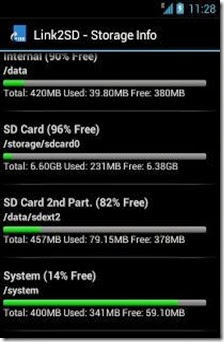
· To check memory status, launch link2SD and go to Storage Info.
Read more: http://www.androidever.com/expand-android-internal-memory-with-link2sd/#ixzz2gtFe3TfL
Based On: http://www.androidever.com/expand-android-internal-memory-with-link2sd/


No comments:
Post a Comment