DIY Universal USB Charging Adapter (Step-By-Step w/Pics)
This DIY is based upon work done by ericlmccormick.
*DIY means DIAYOR (Do It At Your Own Risk). I'm not responsible if you break/bend/mutilate/damage/fold/crater/molest/etc. your tablet as a result of following these instructions.
If you're running Pershoot's kernel, you don't need to do this. You can enable Anycharge through the kernel. See here.
Thanks to MRBR7 for testing and confirming this also works for the GTab 7.7 6800gt.
Thanks to m_1000rr6 for testing and confirming this also works for the GTab 8.9 LTE.
Thanks to NRGZ28 for testing and confirming this also works for the Original Verizon GTab 7.
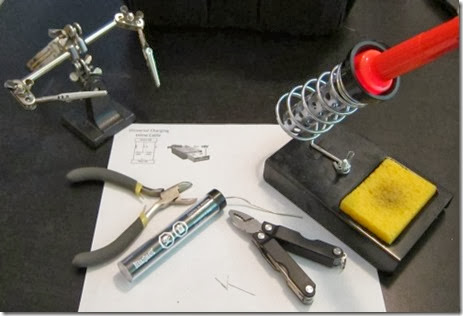
TOOLS
(Left to Right)
- Something to hold the tiny pieces together while you solder
- Wire snips
- Solder
- Pliers
- Soldering Iron
PARTS
(Left to Right)
- Male USB Connector
- Female USB Connector
- One 33K Resistor
- One 10k Resistor 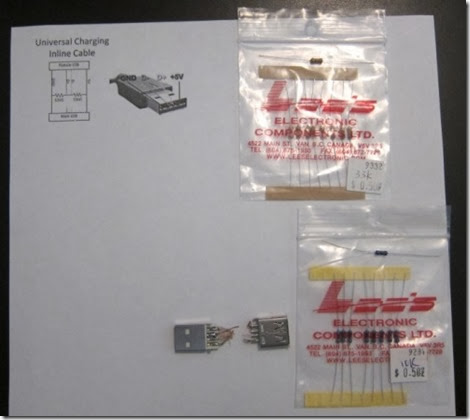
I ripped my USB connectors out of a USB extension cable. 
Cleaned them up a bit. 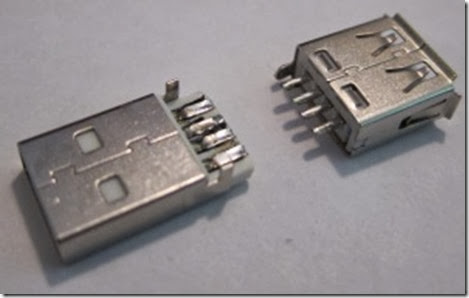
IMPORTANT
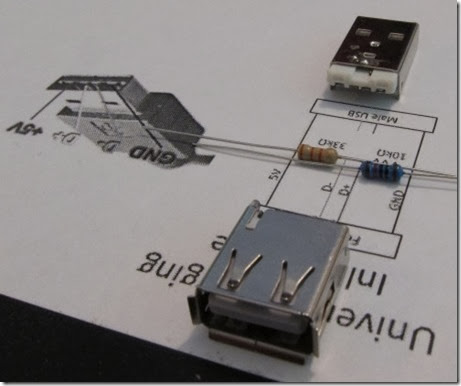
Pay constant attention to the orientation of the USB connectors to each other and which pins are GND and +5V. You could damage your Tab if you end up switching GND and +5V by mistake.You could also end up with a non-working adapter if you flip the resister locations. 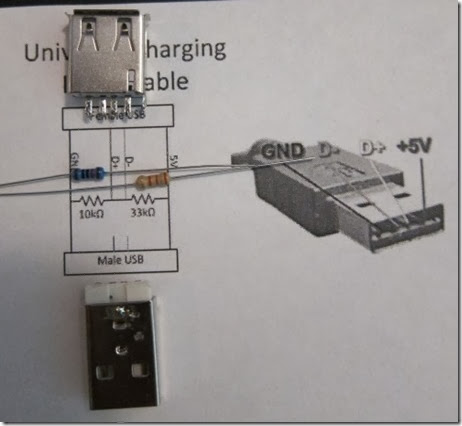
STEP 1
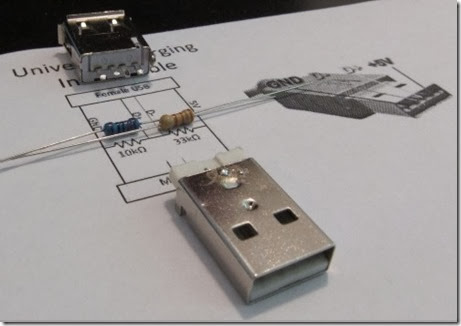
Place the resisters side by side and solder their leads together on one side. Then solder them to the D pins of the female USB connector. Make sure the 10K resistor is on the D pin closest to GND! Keep the trimmed resistor leads for use in Step 4.
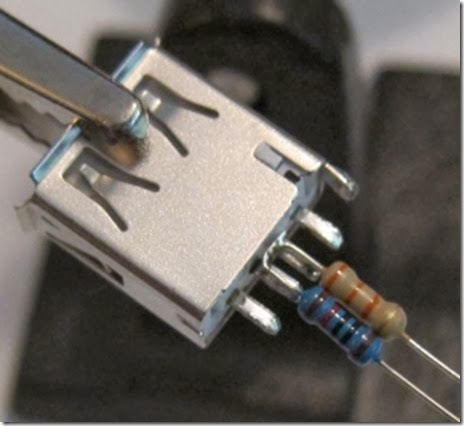
STEP 2
Angle the non-soldered ends of the two resistors away from each other so they line up with the GND and +5V pins of the male USB connector. Make sure the USB connectors are aligned so their respective GND and +5V pins are on the same sides! Solder. 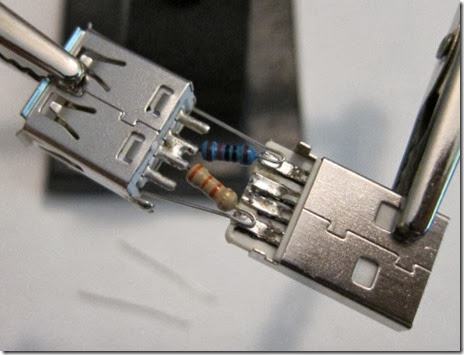
STEP 3
Now clip the resistor leads that were bent back towards the female USB connector and solder them to its GND and +5V pins. Double check that the USB connectors are aligned so their respective GND and +5V pins are on the same sides! BE PARANOID. 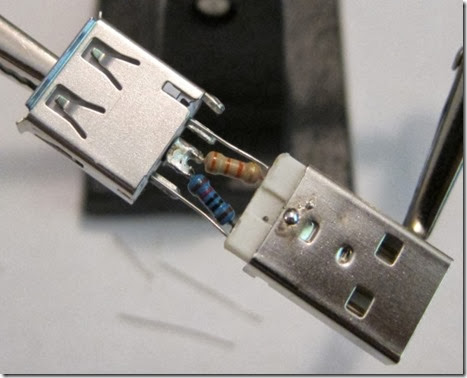
STEP 4
Use the trimmed resistor lead you kept from Step 1 to solder the chassis of the USB connectors together. 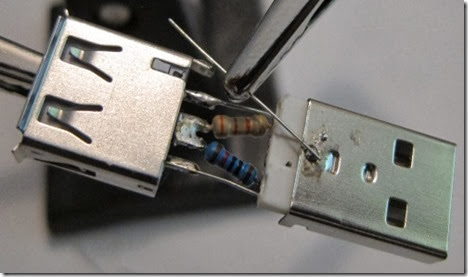
STEP 5
Take 5 minutes to admire your handiwork. 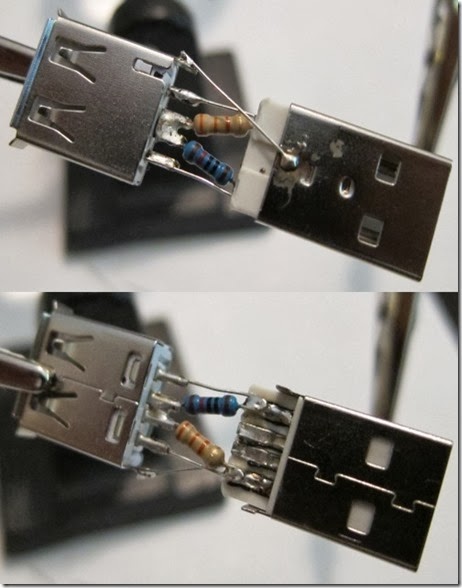
STEP 6 (IMPORTANT - DO NOT SKIP)
Take 10 minutes to check the following
(1) USB connectors are lined up correctly. GND & +5V are not crossed.
(2) 10K resistor comes from GND and 33K resistor comes from +5V. Adapter won't work otherwise.
(3) There are not short circuits / crossed / touching wires. Many bad things could happen. 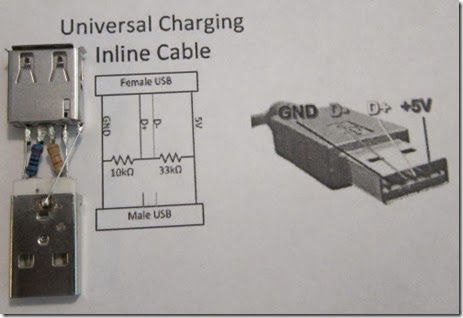
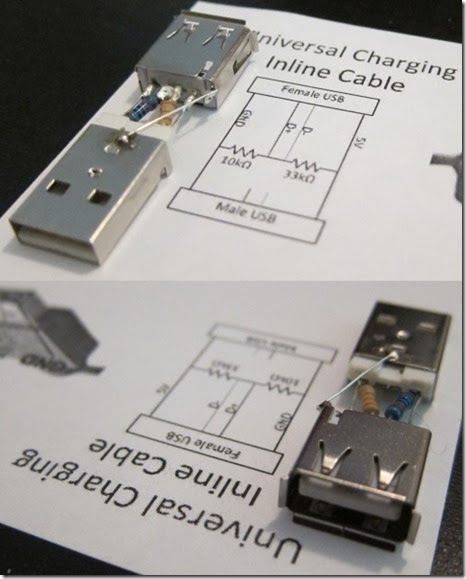
STEP 7 (TEST)
Without adapter. @$%#! 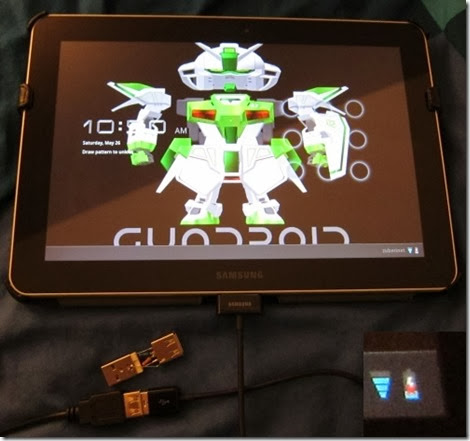
With adapter. Success! 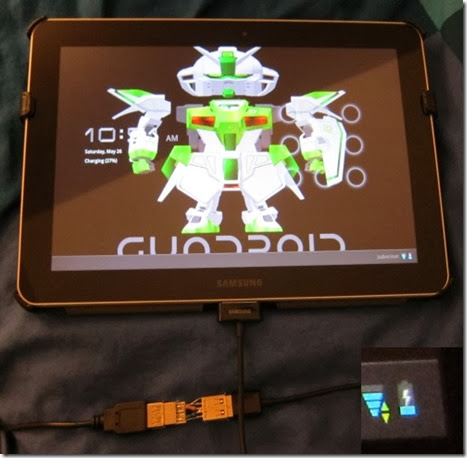
NEVER CONNECT YOUR TAB TO A USB PORT THAT SUPPLIES MORE THAN 2A - BE PARANOID.
STEP 8
Reinforcing and packaging (paperclips & electrical tape). 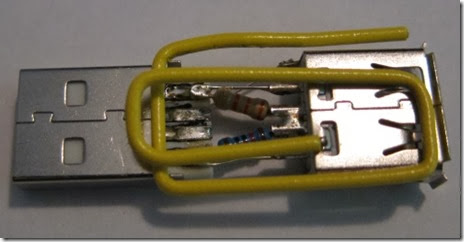
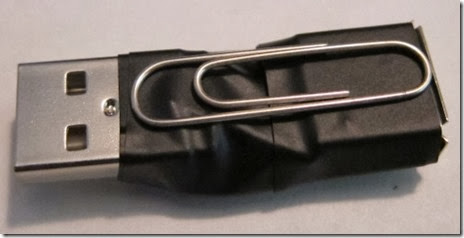
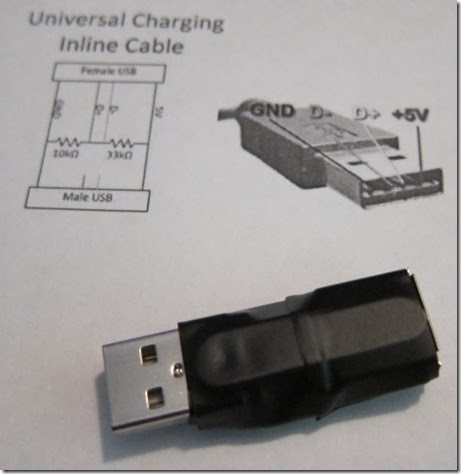
STEP 9
Thank me (hit that button over there ![]()
Hope you found this post useful and informative.
Taken From: http://forum.xda-developers.com/showthread.php?t=1675042
No comments:
Post a Comment