How To Use USB Drives With the Nexus 7 and Other Android Devices
The Nexus 7 may not have a lot of storage space – especially the original 8 GB model – but you can connect a USB drive to it if you want to watch videos or access other files.
Unfortunately, Android doesn’t automatically mount USB drives by default. You’ll need to root your device to enable support for USB drives.
What You’ll Need
You’ll need four things to do this:
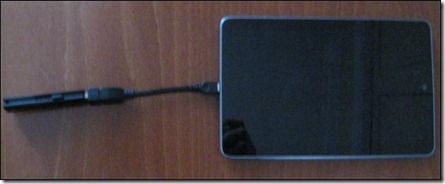
· A USB OTG adapter cable: One end of this cable plugs into the micro USB connector on your Nexus 7 (or other device) and one end allows you to connect standard USB 2.0 devices, such as USB drives. These cables can be had for less than $1 online. USB OTG stands for USB On-The-Go.
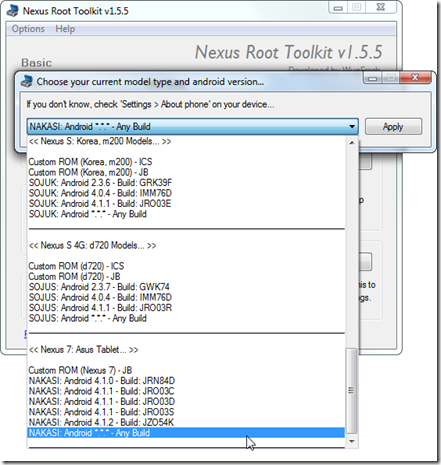
· A rooted Nexus 7 (or other Android tablet or smartphone): We’ve covered using the Nexus Root Toolkit to easily root Nexus devices. If you’ve previously rooted your device and since updated the operating system, it’s just a matter of opening the Nexus Root Toolkit and clicking the Root button again. (The Nexus Root Toolkit currently does not included support for Android 4.2. If you’re using Android 4.2 on your Nexus, select “Any Build” under the device.)
· The StickMount app: StickMount is available for free from Google Play. Note that StickMount only works if your device is rooted.
· ES File Explorer or another file manager app: We’ll be using ES FIle Explorer here, but you can also use another file manager if you prefer it.
Accessing a USB Drive
With your device rooted, plug one end of the USB OTG cable into it and connect the USB drive to the other end of the cable.
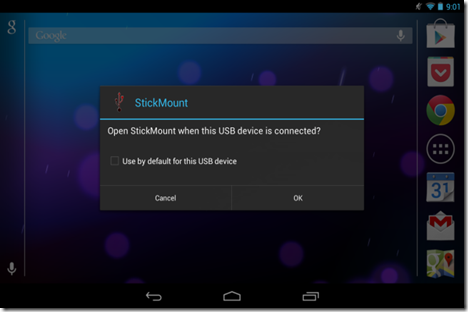
You’ll see a StickMount prompt when the drive is connected. Tap OK and StickMount will make the files on the USB device accessible.
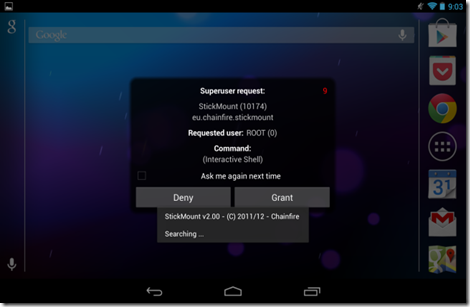
You’ll need to grant root access to StickMount. The process will fail here if you aren’t rooted.
If you agree to both dialogs and select the Use by default option in the first dialog, you won’t see any dialogs when you next connect your USB drive – this will all happen automatically.
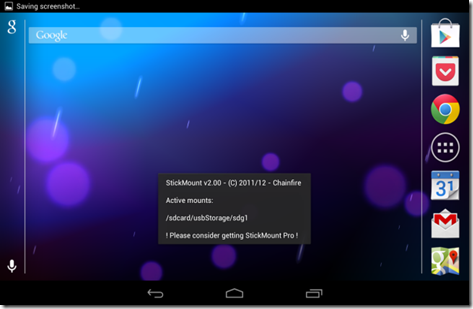
You’ll see a notification indicating that StickMount successfully mounted the device under /sdcard/usbStorage.
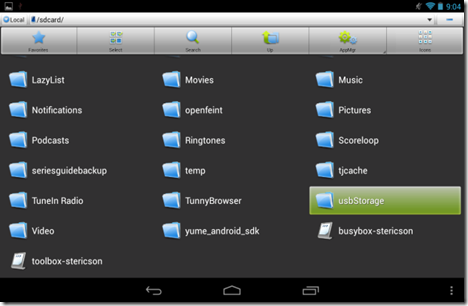
Open the ES File Explorer app on your device and tap the usbStorge folder.
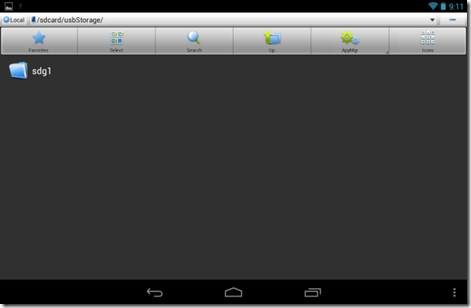
You’ll see at least one folder inside the usbStorage folder. These folders represent the different partitions on your connected devices.
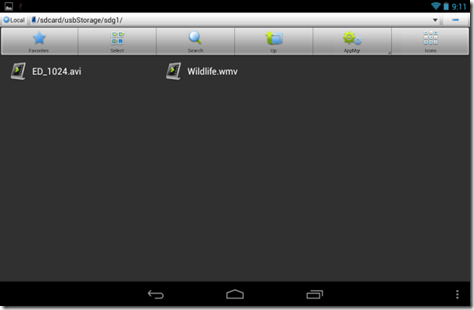
Tap the folder and you’ll see the files inside it. Tap or long-press the files to open them or manipulate them normally.
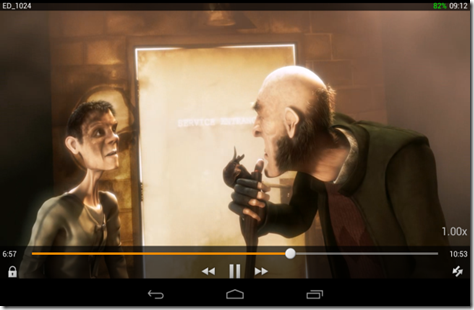
For example, this is particularly useful for watching video files, which can take up a lot of space on your tablet.
When you’re done, you can tap the StickMount option in your notification tray to unmount (eject) the drive and then disconnect it. This notification also informs you when StickMount has successfully mounted a drive.
While the cable is a tad bit bulky, it’s still convenient for watching videos on an airplane or while sitting around your house. You can also use it to move files around for any other purpose, just as you’d use a USB drive on a computer
Taken From: http://www.howtogeek.com/129800/how-to-use-usb-drives-with-the-nexus-7-and-other-android-devices/
![clip_image001[1] clip_image001[1]](http://lh3.ggpht.com/-3oO6m1Fpv60/ULPedOD_4ZI/AAAAAAAABrU/jjqZgfTJ7X8/clip_image001%25255B1%25255D_thumb%25255B1%25255D.jpg?imgmax=800)

2 comments:
Good piece of writing! I am highly agree with the writer's point of view.
The loss of information definitely causes an end user to some feeling of dissatisfaction.
In order to solve this issue, the specialists have proposed many files retrieval alternatives.
In case there is a data deletion condition, an end user really should have a knowledge of appropriate data files recovery tool.
corrupt pst
nice
CISCO Routers
Post a Comment