Note: Instaling VMware ESXi on a hardrive is the same as installing on a USB Memory Stick, when selecting a disk just select the hardrive instead off the USB Memory Stick
Since writing my original post last year on installing VMware ESXi 3.5 onto a USB memory stick things have changed and with the release of vSphere VMware have now provided an official method of doing this which is much easier than any of the previous ‘unofficial’ methods. As such I felt compelled to write an updated post giving easy to follow steps to assist in instructing how to create such a bootable VMware ESXi 4.0 USB memory stick.It’s almost so easy that I don’t need to provide any screen shots showing how to do it but what the hey – here they are anyway.
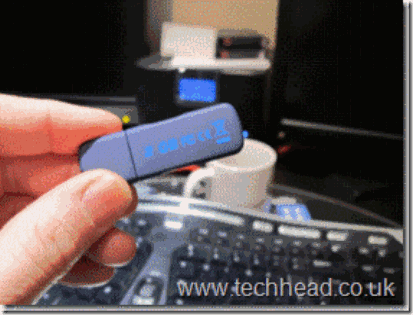
1. The first thing you’ll need is a spare USB memory stick. For this I am using a generic 2GB Dane-Elec (never heard of them before but they were cheap from my local Staples store) memory stick. I usually go for a 2GB memory stick as I know it will have ample space for the installation.
2. The next step is to download ESXi from VMware here and burn if off onto CD.
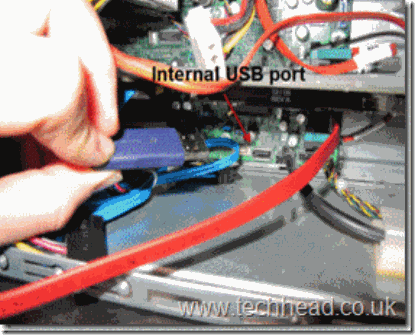
3. Now insert the USB memory stick into a USB port which is able to be booted (eg: internal USB port) – though at this stage make sure that your server can boot from the CD/DVD drive.
4. Insert the CD containing the ESXi install into the servers CD/DVD drive and boot or restart the server.
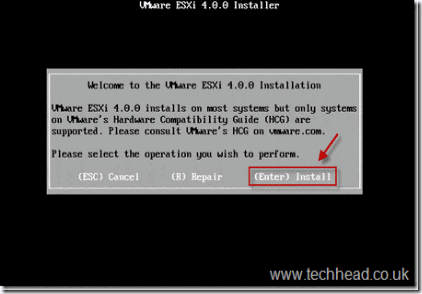
5. Upon booting off of the VMware ESXi installation CD you will be presented with the screen below – press the ‘Enter’ key. Also, notice the option to ‘Repair’ an ESXi installation from this screen by pressing the ‘R’ button. This is useful when you have a corrupt ESXi installation and you wish to reinstate a fresh install – this option is non-destructive to the /vmfs/volume on your ESXi host which may contain your VMs, etc though you will lose your host’s configuration settings.
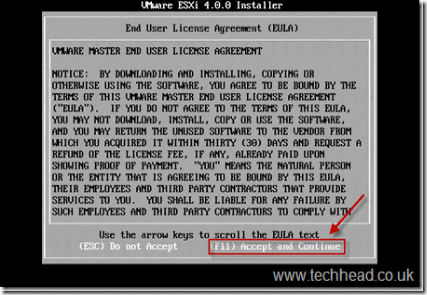
6. Sign your life away to VMware by pressing the ‘F11’ key.
7. At this stage you will see a list of all your storage devices connected to your VMware ESXi host – select your USB memory stick and press ‘Enter’.

8. If your USB memory stick already has data on it you will be asked if you definitely want to continue with writing ESXi down to it. This is to avoid any accidental mishaps. Press ‘Enter’.
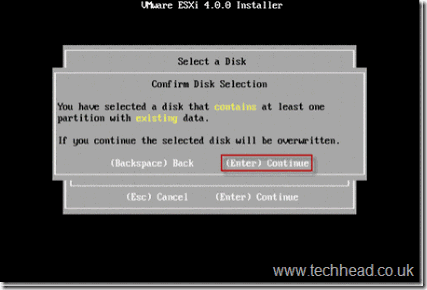
9. Next press ‘F11’ to confirm the installation of ESXi onto the USB flash drive.
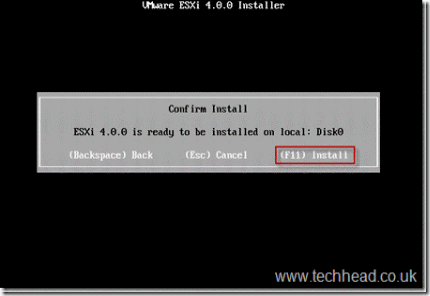
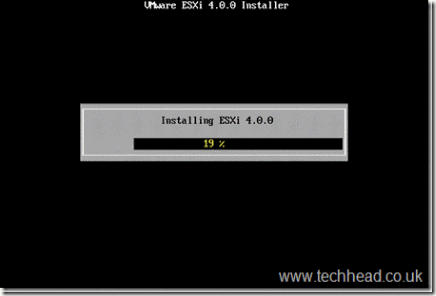
10. Sit back and wait whilst ESXi is written down to your USB flash drive – at this point you should see it flashing away (assuming it has an LED activity light). This install process generally only takes a couple of minutes.
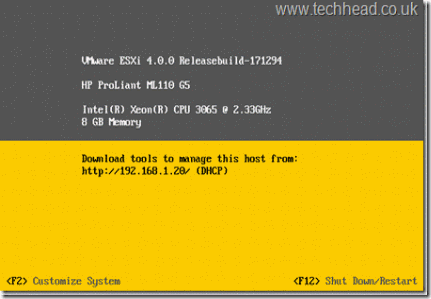
11. Once the installation has completed you will receive the screen below. At this point remove the ESXi installation CD from the servers CD/DVD drive and press ‘Enter’ to reboot the server.
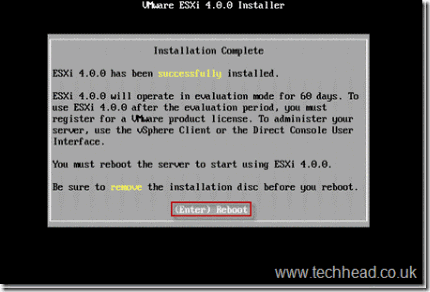
IMPORTANT: Upon the server rebooting ensure that its boot priority order is set so that the USB port(s) are booted from first.
Your server should now be booting successfully off of the USB memory stick to VMware ESXi 4 – all you need to do now is configure it!
Although being pretty straight forward I hope you found this of use.
Adding an HardDrive (if the usb space isn't enough for you):
If you want you can always add an harddisk to VMWare EXSi, with VSphere (setup instructions here).
Warning: You can only add a hole disk to VMware ESXi, if you were thinking off squeezing it on a partition forget it, it will erase everything and use the hole disk.
Once you have VSphere up and running, just do the following:
Next...
Next... And that's it... you have all the space in the world...
To Convert/Create/Install Virtual Appliances you can use:
http://www.vmware.com/products/converter/
Automate and simplify physical to virtual machine conversions as well as conversions between virtual machine formats with VMware vCenter Converter. Use the intuitive wizard-driven interface of VMware vCenter Converter to convert your physical machines to virtual machines.
- Convert Microsoft Windows and Linux* based physical machines and third party image formats to VMware virtual machines
- Complete multiple conversions simultaneously with a centralized management console
- Easy to use wizards to minimize the number of steps to conversion
To Manage with VSphere (client) check out:
http://www.virtualizationadmin.com/articles-tutorials/vmware-esx-articles/installation-and-deployment/10-steps-install-use-free-vmware-esxi-4.html
or
http://myhowtosandprojects.blogspot.com/2010/08/installing-and-managing-vmware-esxi-40.html
Based On: http://www.techhead.co.uk/installing-vmware-esxi-4-0-on-a-usb-memory-stick-the-official-way


No comments:
Post a Comment